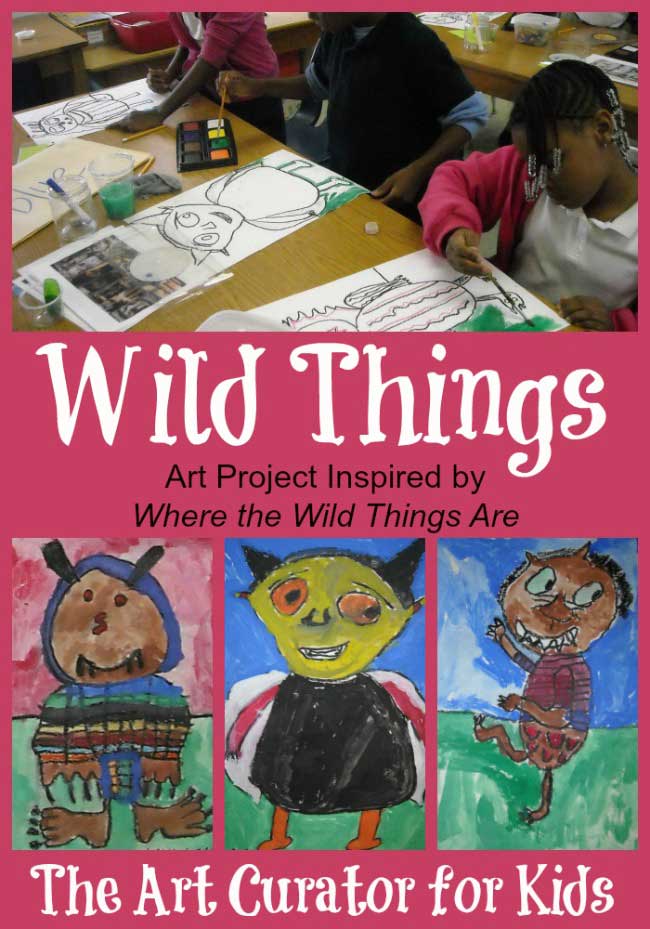
One of my favorite projects I did with my elementary students was an art project inspired by the amazing children’s book by Maurice Sendak, Where the Wild Things Are.
Maurice Sendak
Maurice Sendak is a beloved children’s book illustrator and author. He wrote and/or illustrated about 100 books in his life. His most renowned work is Where the Wild Things Are, a magical book about a boy who disobeys his mom and leaves on an adventure in his imagination to a world of scary, wild things where becomes king. The story is magic, but the art is what really shines for me.
I think Maurice Sendak really understands what it is like to be a child. Please watch this video from PBS Digital Studios. It gave me goose bumps in parts.
 This post is a part of the Booking Across the USA series organized by Jodie at Growing Book by Book. Bloggers from across the web are each featuring children’s authors from all 50 states. I chose Connecticut, because Maurice Sendak lived in Ridgefield, Connecticut for more than 40 years. He died in 2012 and in his will, he chose to donate all his work to a foundation dedicated to creating a museum to house his collection in Ridgefield.
Where the Wild Things Are Art Project
I was just teaching and not blogging when I did this project, so it didn’t matter whether it was a new idea or not, but the original inspiration for this project was from Patty at Deep Space Sparkle. See her Wild Things lesson here. She has created some amazing art projects for kids, and her site was an amazing resource for me as an elementary art teacher! If you don’t visit her site regularly, you should. 🙂
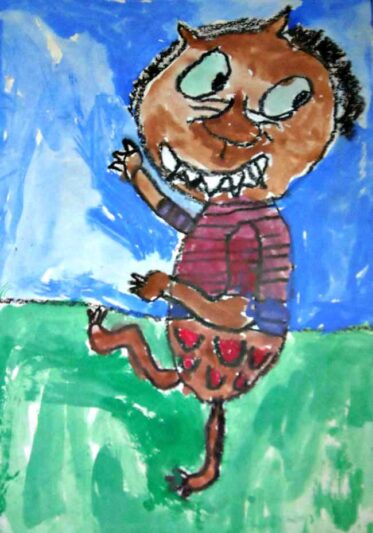
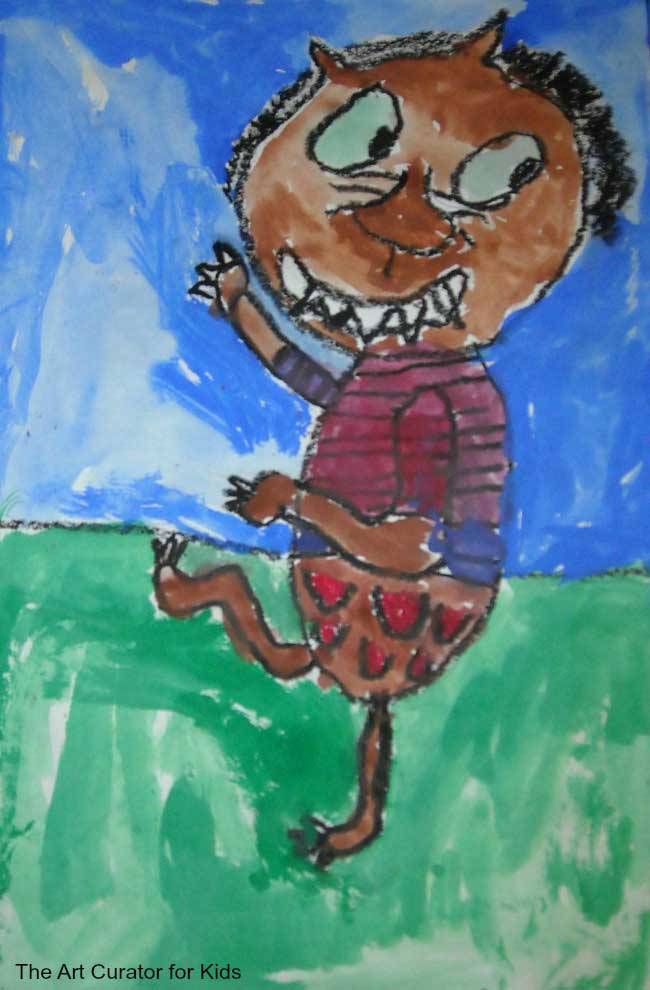
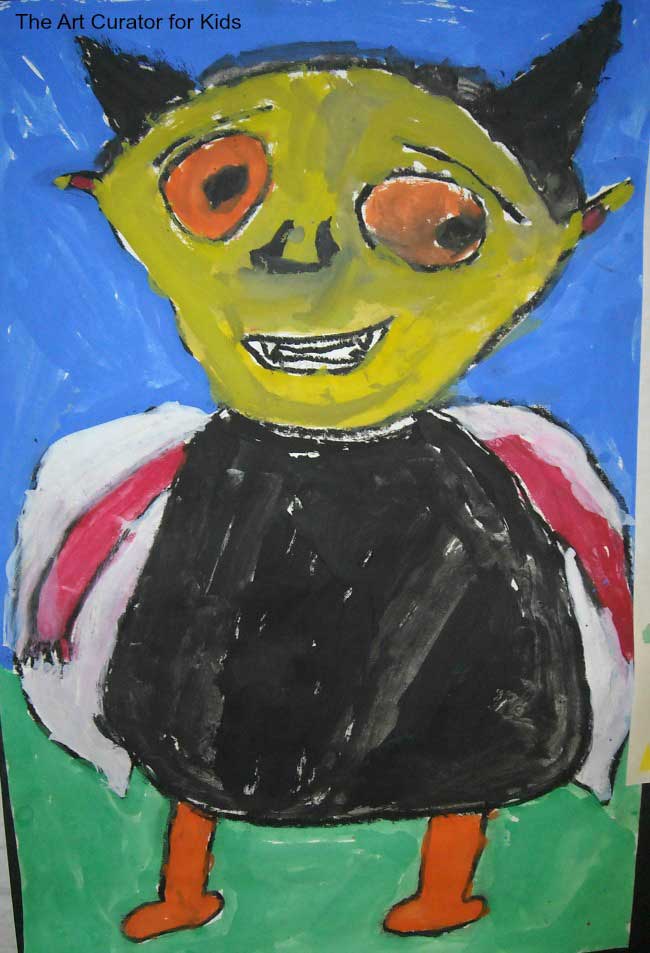
I did this Wild Things lesson with third grade, and the results were too cute!
Here’s the process.
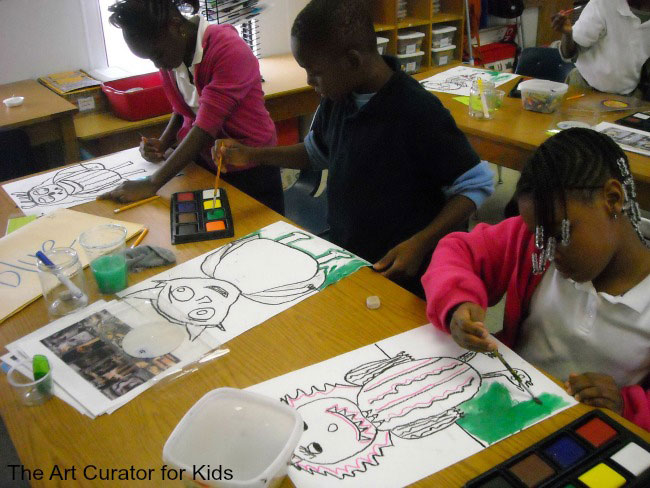
1. Read the book and discuss the art. I read the book to the class, and then I made color copies of some of the illustrations. I had the students notice and point out the different features of the monsters and the textures.
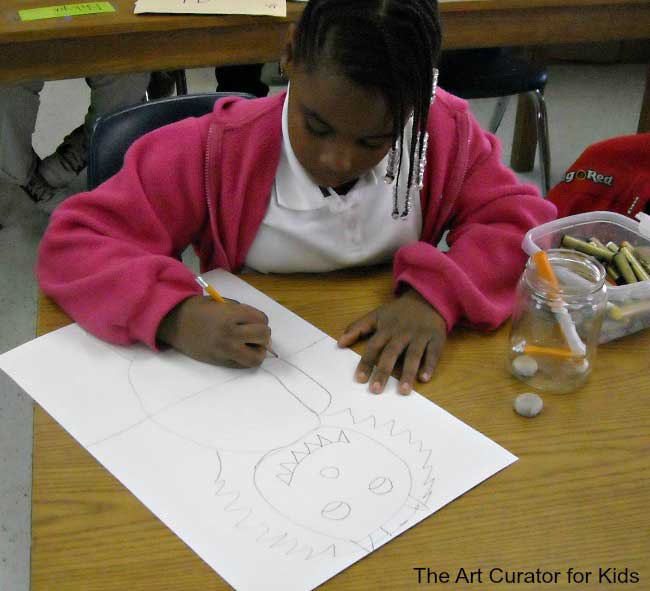
2. Draw the monster BIG with pencil. We used 12″x18″ white paper, and I had the students draw the monster as big as they could on the paper. I distributed the color copies from the book to the tables not for them to copy, but just to be inspired and remember all of the possibilities. Also have students draw the horizon line.
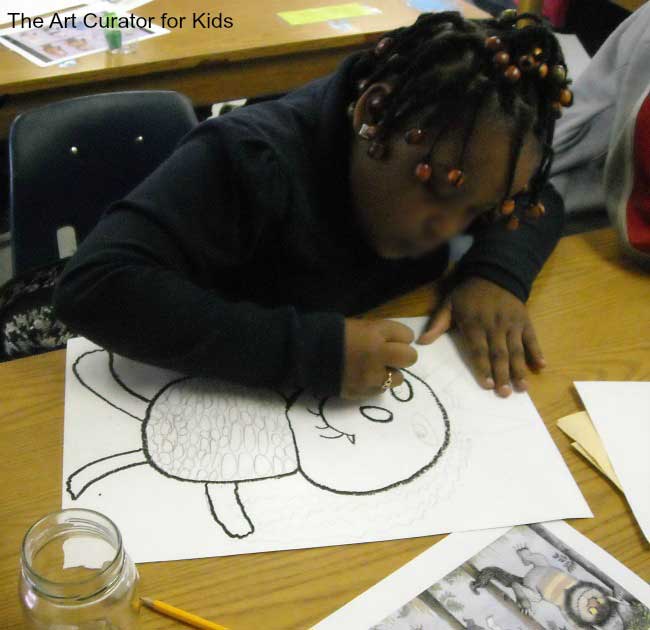
3. Trace the pencil lines with black oil pastels, and add details and textures with other colors.
4. Paint the monster and the background with paint. We used tempera cake paint with great results. Patty used watercolor.
If I had to do it again, I would probably have students draw textures on top of the paint (like I did in this project).
I also just came across this post with a similar idea. I love the worksheet she created to observe the textures and animal parts! Great idea.
Booking Across the USA
Here are all of the bloggers participating in the Booking Across the USA series today! Check them out. 🙂
edSnapshots, Incredibly Confident Kids, Crayonbox Learning, The Educators’ Spin On It, Art Class Curator, Kathys Cluttered Mind, Story Time Secrets, True Aim, The Jenny Evolution, Primary Inspired, KC Edventures, Chicken Babies, Mosswood Connections, Picture Books & Piourettes, Mama Smiles, Buggy and Buddy, Wise Owl Factory, Bambini Travel, Inspiration Laboratories , Kids Yoga Stories, Elementary Matters, Just Another Mom, All Done Monkey, Something 2 Offer, Cutting Tiny Bites, JDaniels4’s Mom, Living Montessori Now, Pragmatic Mom, Kid World Citizen, Teach Beside Me, Kitchen Floor Crafts, and Brain Power Boy

