We’re traveling today to the Marshall Islands, an island county in the Pacific ocean. The country is spread out over 1,156 individual islands near the Equator and consists of a population of over 68,000 people. You can imagine that being spread out over that many islands, you would need to develop some systems for navigating the waters and islands of the area in order to travel on the seafaring canoes built by the Marshallese.
That’s where today’s lesson comes in. I just learned about this art form recently and thought this is a perfect lesson for my 5-year-old! I would probably do this lesson with any elementary grade level. It’s great social studies and art integration.
Marshall Islands Stick Charts
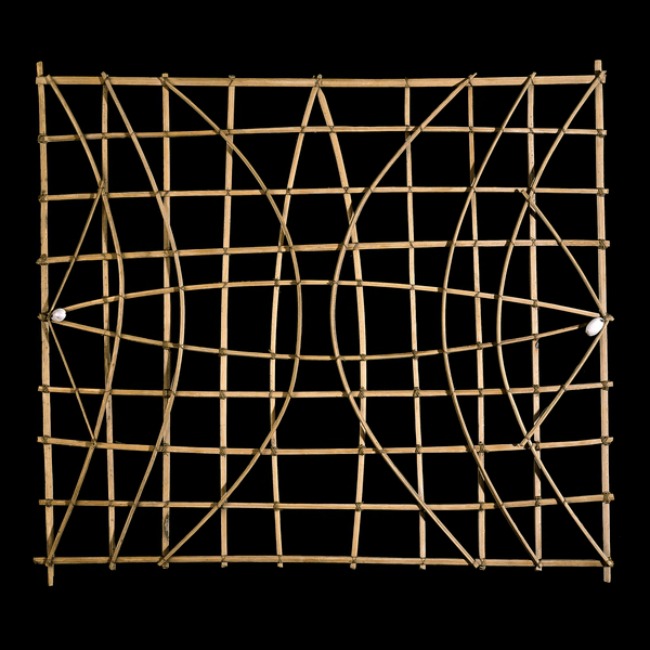
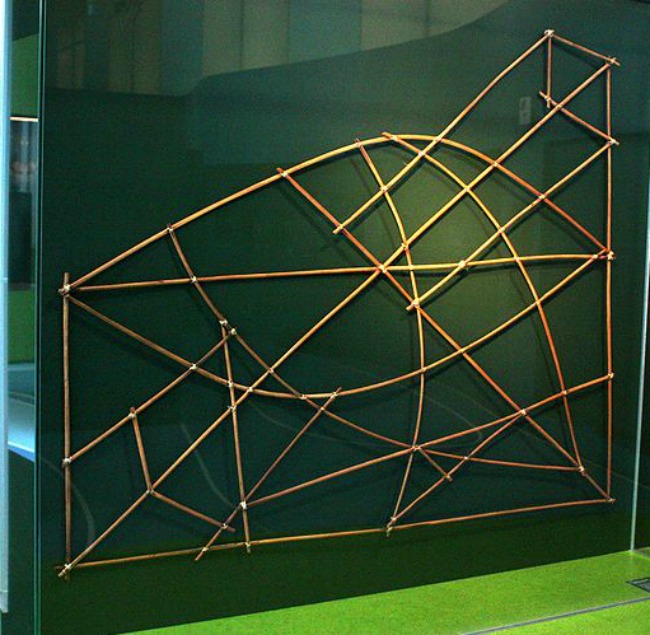
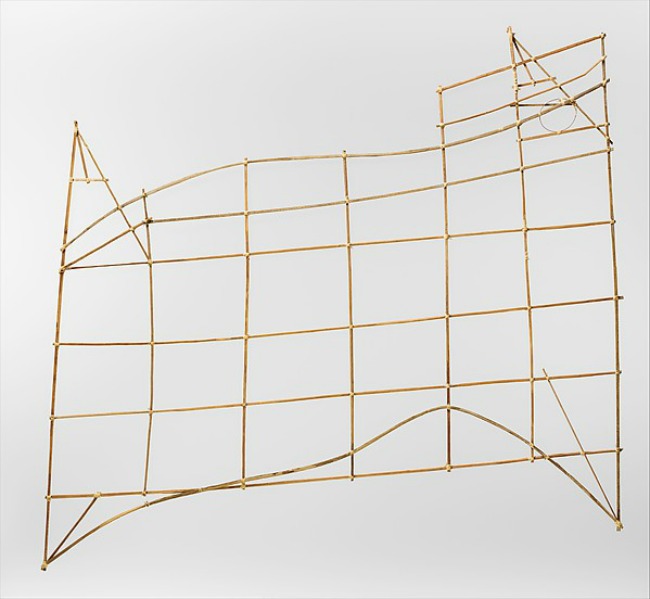
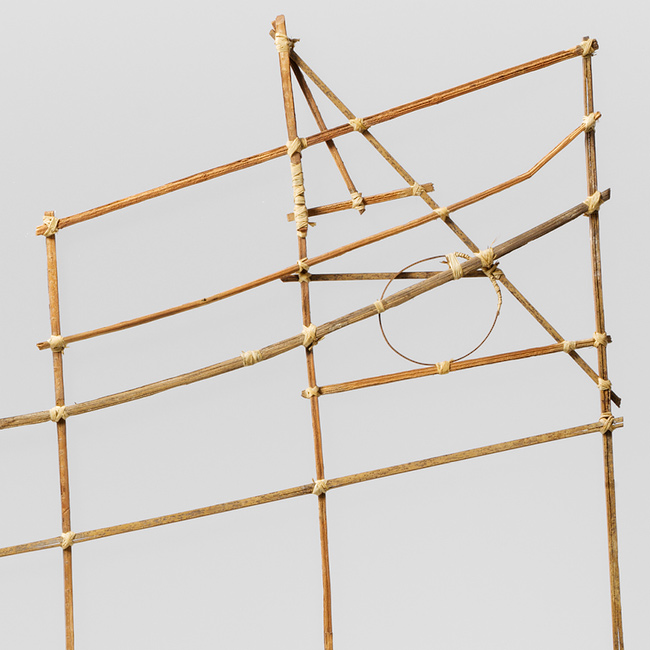
The Marshallese people once did not have the traditional mechanical devices for navigating the oceans like compasses and astrolabes. In order to navigate the ocean swell patterns, the winds, and the islands, the Marshallese developed navigation stick charts made from small seashells, wooden sticks, and various parts of a coconut. The curved lines in the Marshall Islands stick chart showed the direction and flow of the ocean waves, and shells or thick crossings of the sticks represented islands.
These charts were usually personal to the person who made them. If you didn’t make the chart, you are unlikely to be able to interpret it and use it.
There are multiple types of charts as well: rebbelib, mattang or wappepe, and medo. You can read here about the difference between the types if you are curious.
They generally stopped making and using these charts after World War II when more advanced technological tools were introduced to the islands.
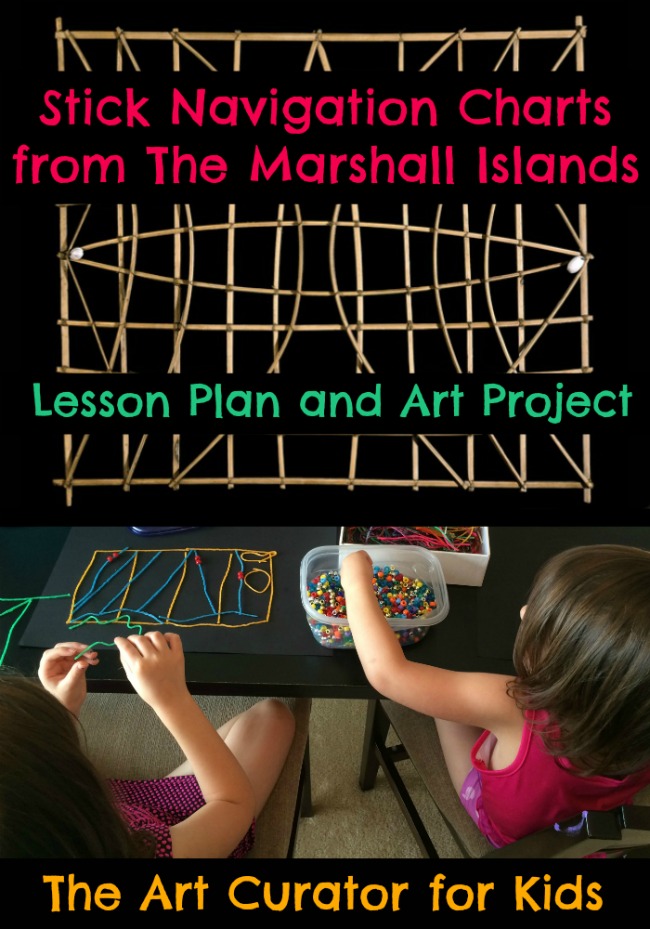
Marshall Islands Stick Chart Lesson Plan and Project
Please note, this post includes Amazon affiliate links. As an Amazon Associate I earn from qualifying purchases.
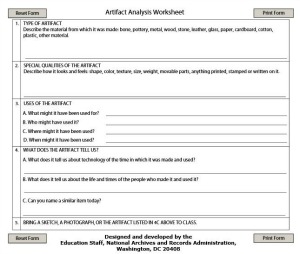
1. Show children an example of a Marshall Islands stick chart without telling them any information about it. Use the following questions as a guide. You could also use the Artifact Analysis Worksheet from the National Archives and Records Administration as a place for them to document their observations (Click the link, and then click Artifacts). This would be a great group activity in a classroom.
- Describe the object.
- Describe the material from which this object is made.
- Describe the lines and shapes in the object.
- How do you think this object made?
- How do you think this object was used? What do you see that makes you say that?
- Who do you think used this object?
- Why was this object made?
- Draw the stick chart.
2. Tell the students that this is a Marshall Islands stick chart, a navigational tool for people who lived in the Pacific Islands. Ask students the following questions and discuss.
- Now that you know that these are maps, what do you think each line and shell represent?
- How do you think the Marshallese people used these stick charts?
- How do these stick charts compare to the maps we use?
3. Explain to the student what the curved lines and shells represent. Discuss together how the Marshallese might have used and made these for personal use.
4. Learn more about the people from the Marshall Islands. This is where you can fit in some extra information about the Marshall Islands however you want to teach it.
5. Have the students make their own stick charts using the following steps.
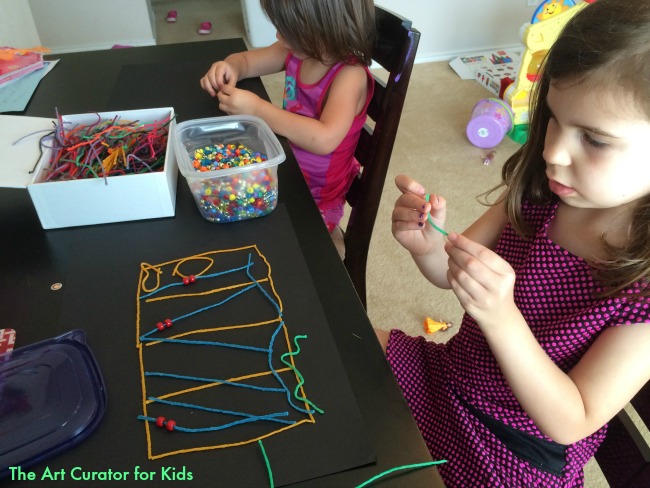
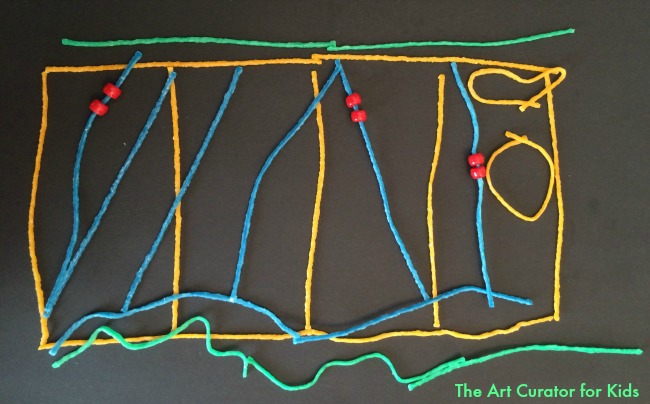
- Discuss what they might make a map of: their house, neighborhood, school, the way the wind blows, the way the water flows in the drains/lake/ocean, etc. It was pouring rain the day we made ours! We captured the rain falling, the rain in the drains, the red brick houses, and the green grass.
- Make a plan for the stick chart by sketching it on paper (optional, for older kids).
- Make the stick chart using pipe cleaners or wikki stix and sea shells or pony beads. (We used wiki stix and pony beads). If you use wiki stix, it’s best to have a piece of construction paper underneath so it is easily portable.
There you go! I hope you and your students enjoy this lesson! This post is a part of the Multicultural Kid Blogs Asian-Pacific American Heritage Month Blog Series and Giveaway. Scroll down for information on the series and giveaway!
Get the Full Lesson!
This Lesson is in The Curated Connections Library!
Find the full lesson from this post along with hundreds of other art teaching resources and trainings in the Curated Connections Library. Click here for more information about how to join or enter your email below for a free SPARKworks lesson from the membership!
Sources:
- The British Museum, accessed 5/9/2015
- Wikipedia, accessed 5/9/2015
- The Nonist, accessed 5/9/2015



Fascinating!
I agree! These are super cool.
How interesting. I’m thinking of materials my 7th and 8th grade students might use on the “cheap”: straws, wire hangers, …?
Yeah, straws, wire, twine, etc. I bet you could even walk around outside and pick up sticks off the ground!
This is wonderful project. I have a friend who teaches an art class here in Majuro (capital of the Marshall Islands) and have sent your link to her. Cheers, Karen