Inside: Enhance your middle and high school photography lessons with this interactive lesson on the history of photography, and then create flip books for kids in response to the innovations of Eadweard Muybridge.
Last week, I told you all about Eadweard Muybridge Horse in Motion which led to the beginning of the first moving pictures (all of our giphy love these days can be traced back to that hero!). Now, I will share how I taught about Early Photography including the innovations of Eadweard Muybridge and Louis Daguerre with a lesson and project.
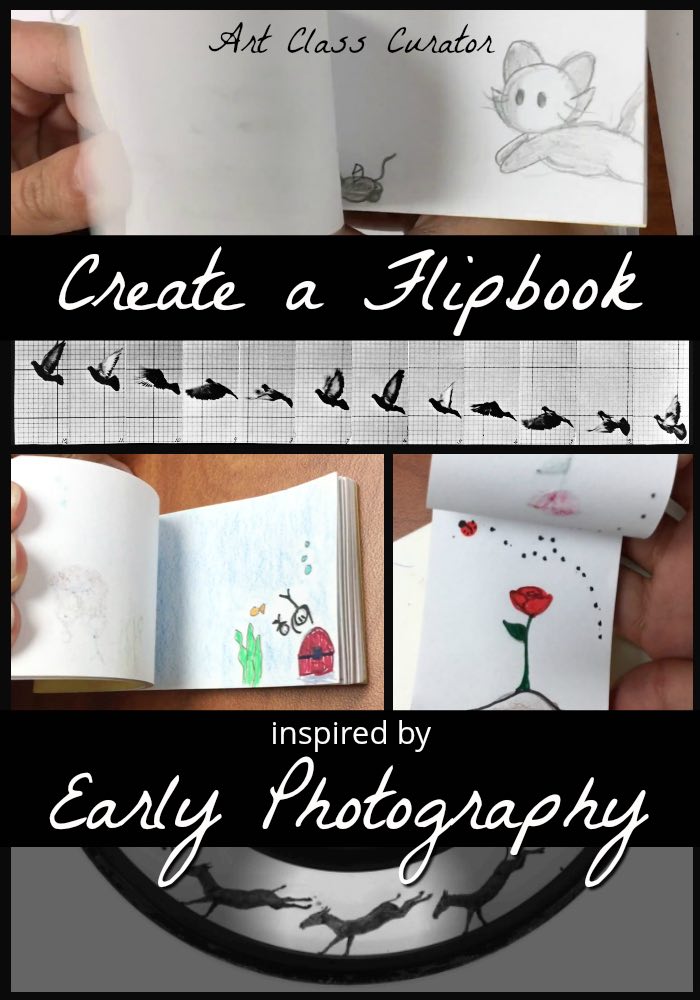
This is a great addition to your high school photography lessons to give your students a background in the history and innovations that led to the technology we use today!
Please note, this post includes Amazon affiliate links. As an Amazon Associate I earn from qualifying purchases.
Get the Full Lesson!
This Lesson is in The Curated Connections Library!
Find the full lesson from this post along with hundreds of other art teaching resources and trainings in the Curated Connections Library. Click here for more information about how to join or enter your email below for a free SPARKworks lesson from the membership!
Daguerreotype Art Lesson
The lesson begins with a focus on Louis Daguerre and his daguerreotype camera. We focus our attention on how revolutionary it was to be able to take a picture, but also how different the first cameras were than the ones we carry around in our pockets today.
To begin the lesson, students reflect on what it would be like to only have ONE photograph of themselves in their whole life with the following questions.
- What would you include in the photograph of yourself?
- How can you show who you really are in a photo alone?
- How can you tell the story of a person through picture only?
- What would the picture leave out or miss about your life?
For students today, it’s hard to imagine a life (or even a DAY hour) without photographs.
After covering some of the basic technology behind Daguerre’s camera and its originating technology, the camera obscura, I ask students to pose for a photograph for 60 seconds. They must stay completely and absolutely still until I say stop and think about how it feels.
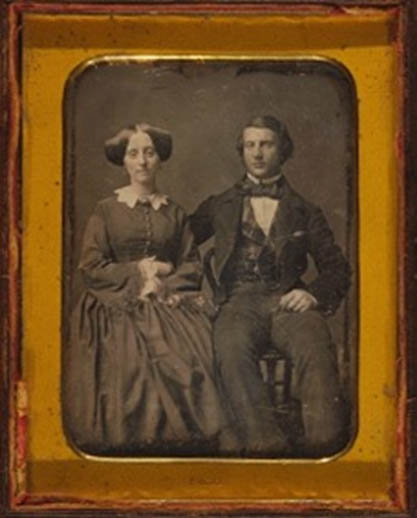
The first pictures took 60-90 seconds to take, and the sitters could not move a muscle during that time! (Take that, Snapchat)
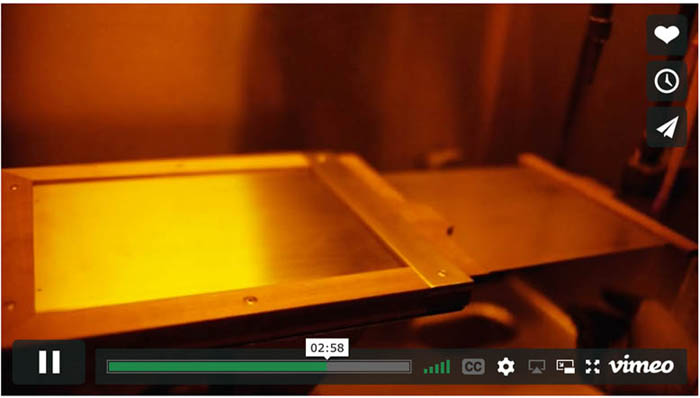
Then, we study the technology in more detail by walking through the steps as well as watching a video of the daguerreotype process.
Eadweard Muybridge Art Lesson
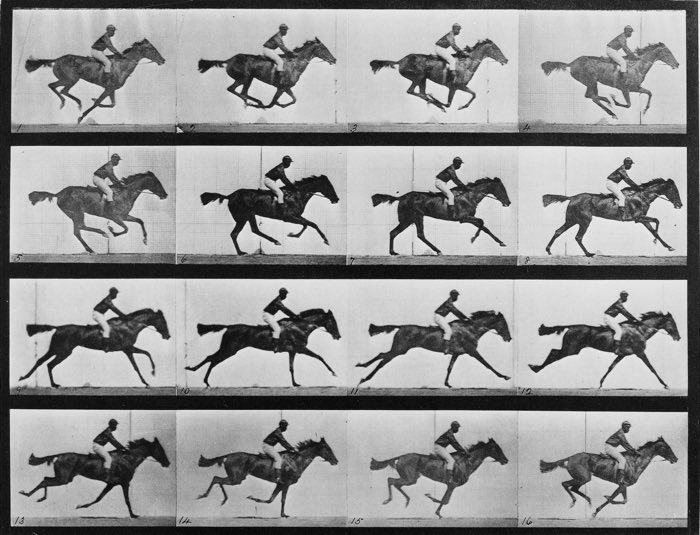
Next, I show students Eadweard Muybridge’s Horse in Motion.
I ask students to consider what is so revolutionary about the photo, and then we predict how he may have accomplished this task with the technology available.
We discuss the technology and story about the horse bet as well as the zoetrope and zoopraxiscope invention discussed in last week’s blog post about Eadweard Muybridge Horse in Motion.
How Photography Impacted Painting
After discussing early photography as a whole, I ask students to consider how photography may have impacted painting.
Photography impacted painting in at least two ways:
- Photography use as tool for painters to paint more realistically.
- Painters move away from realistic paintings as a response to photography.
In this lesson, we discuss the first of the two ways, and I cover the second in my Impressionism art lesson.
I then ask students to draw a picture of a person running, while showing a gif of a person running. We discuss how hard it was to capture the true motion of the person.
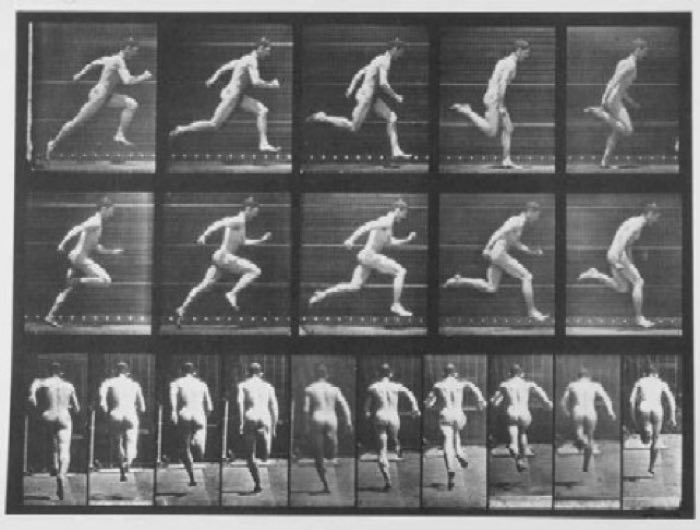
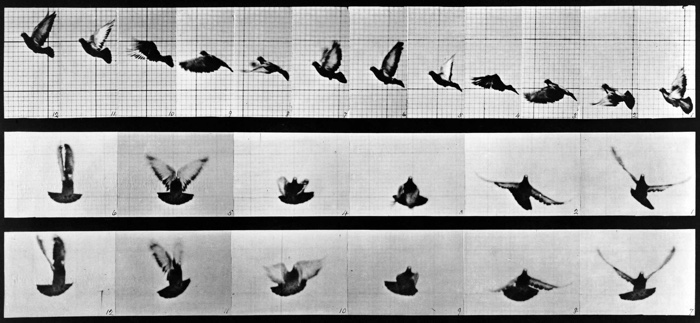
Then, we look at the photographs in motion taken by painter Thomas Eakins and draw another person running. We compare the two drawings and discuss how knowing how the body actually moves helped students make a more realistic drawing.
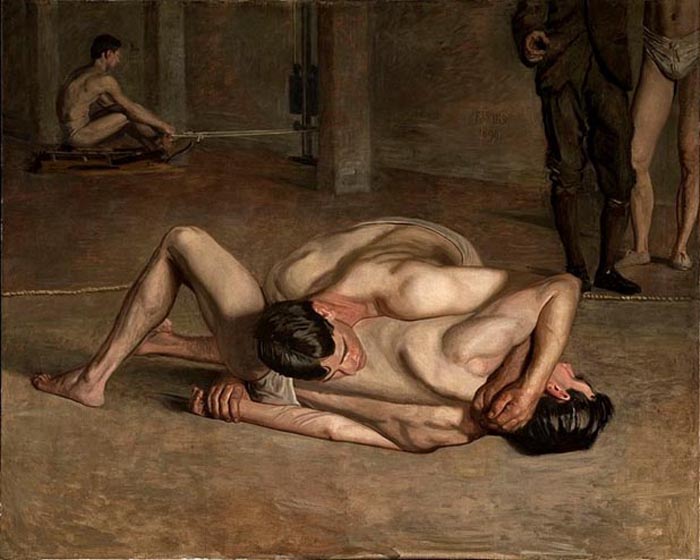
Thomas Eakins used photography as a teaching tool and as a way to study the human body in order to make more realistic photographs.
Flip Books for Kids Art Project
Side note: before studying photography, we also did a line art lesson, with special emphasis on gesture line (see this post for all the examples you need to cover the different types of line in art). Students used both their knowledge of Muybridge and their knowledge of line in this art project.
For the project, students created flipbooks using gesture line and movement.
The requirements for the flip book project were:
- Must tell a story
- Must have movement
- Planned using a storyboard
I had students add color, but I think in the future, I may stick to thin-tipped black markers or pen. Although I did get some beautiful color ones as well!
Here’s some of my 8th-graders’ flipbooks! Blink and you’ll miss it.
You’ll see in the video, we used these blank flipbooks from Amazon, but I wouldn’t recommend them. I would go with small packs of post-it notes instead. They flip much easier and cost a lot less.
The full lesson with the PowerPoint, review sheet, and a quiz is available with a membership to The Curated Connections Library.
If you like this, you may also like:
- Eadweard Muybridge Horse in Motion and the First Moving Pictures
- Photo Analysis Worksheet and Learning Activities
- I am… Dorothea Lange: Exploring Empathy Art Lesson
- The Role of Art in the Exploration of the American West
- Line Art Lesson
- Ultimate List of Artworks the Show the Different Types of Line in Art

Leave a Comment