Inside: How to make your own affordable art cards and use them to spark critical thinking and thoughtful art classroom discussions.
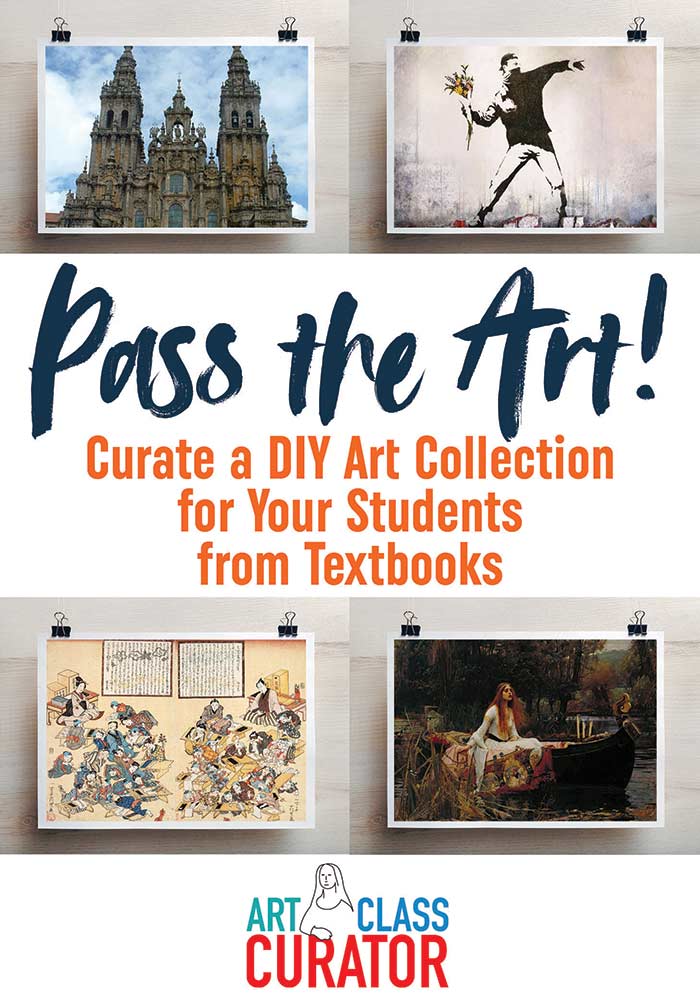
One of the questions I get asked most frequently is how to show works of art to a classroom full of students. I’ve suggested using projectors, textbooks, posters, and computers. But when I was preparing for my Art Appreciation Master Class Workshop this summer, a new idea occurred to me.
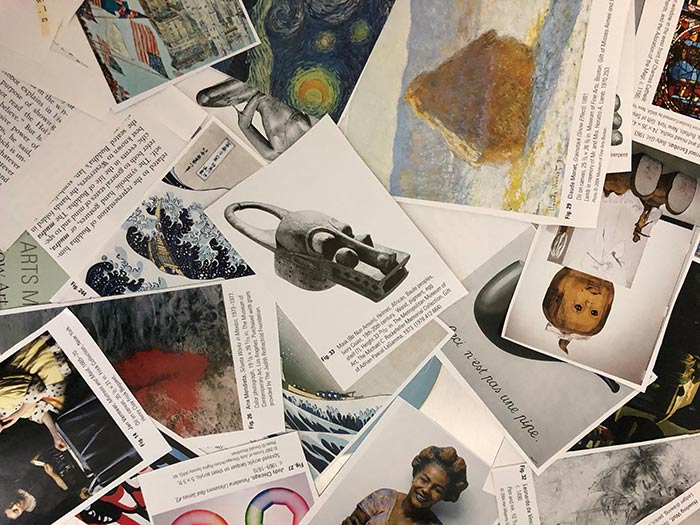
Art Cards
I’ve been an art educator long enough to acquire an impressive collection of art textbooks. While some of them were useful in the classroom, most just sat on a shelf. When I realized that I had more than one edition of the same textbook, I decided to take the scissors to it! I’ll admit I cringed a bit, but I’d much rather use the books than have them sit gathering dust. The process to make your own art cards is simple but time-consuming. Still, this is cheaper than buying postcards, and you’ll get a much greater variety.
This post contains affiliate links. When you purchase using these links, Art Class Curator receives a small commission at no extra cost to you. Thank you for your support!
Please note, this post includes Amazon affiliate links. As an Amazon Associate I earn from qualifying purchases.
Here’s what you do:
1. Find your artworks – You can use art magazines, museums brochures, an art textbook, an art coffee-table book, or anything else you can think of to create your DIY art collection. Explore your local used bookstore for a bargain!
Here are some art book suggestions: Gateways to Art: Understanding the Visual Arts, Art: Over 2,500 Works from Cave to Contemporary, Art: A Visual History, Art That Changed the World, Living With Art
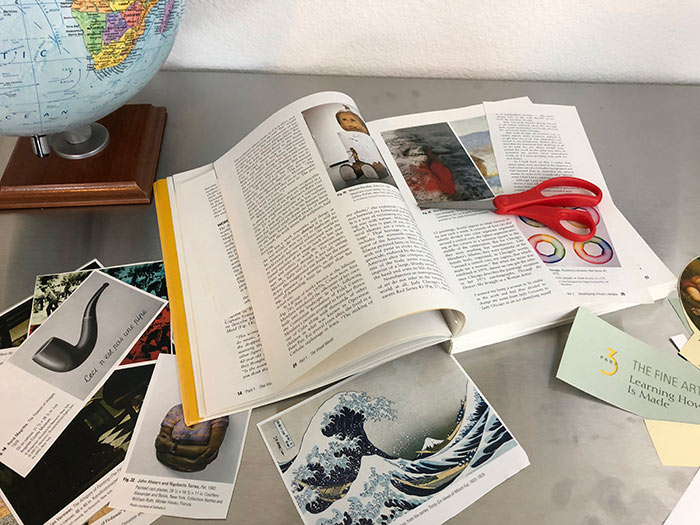
2. Cut out artworks – Be sure to look at both sides of the page so you don’t accidently cut into an artwork you want to use. You can also choose whether or not you want to include the title, artist, and any additional information included in the textbook.
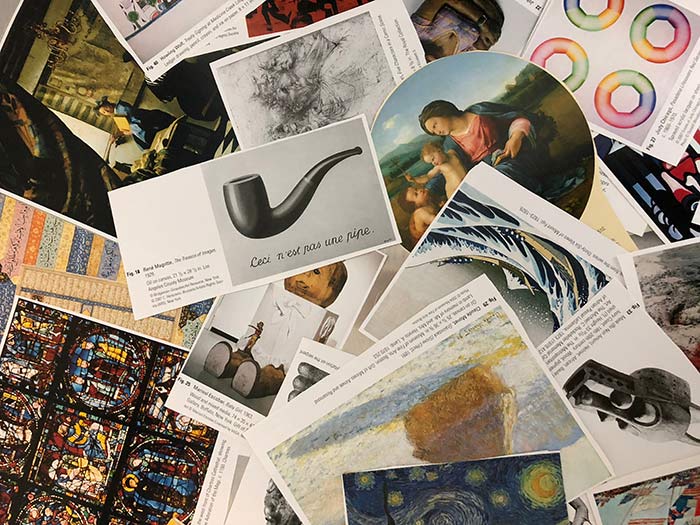
3. Laminate your new art cards – This will save them from being damaged so you can use them year after year. I chose to put the art cards onto cardstock to make them more sturdy. I added the labels on the back because I prefer to give the students the chance to interpret the art without being influenced by the title or other information. Here’s a budget-friendly laminator if you don’t have one and your school’s is always busy or on the fritz.
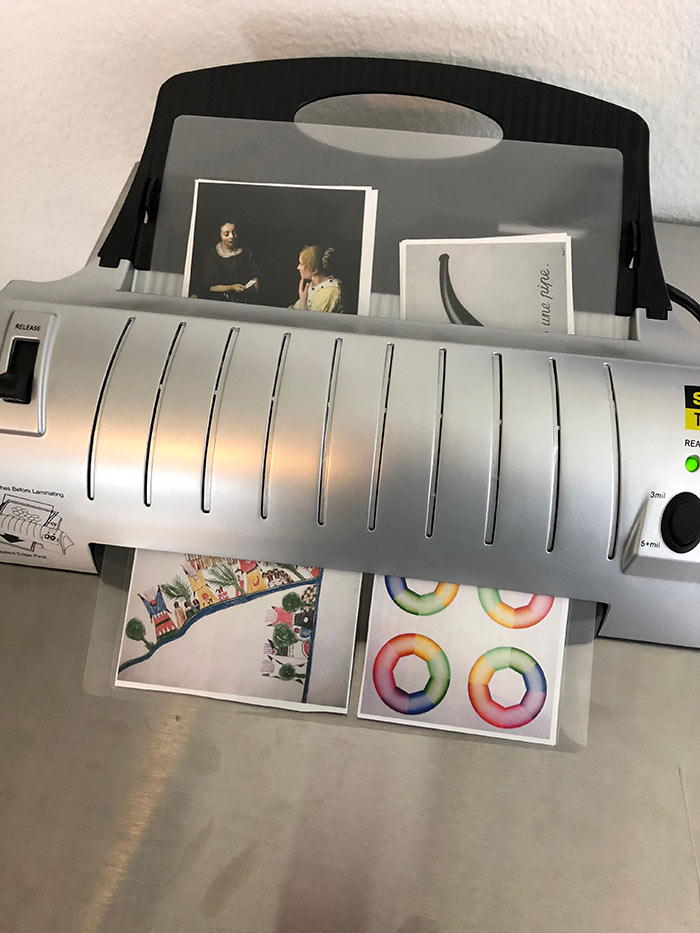
4. Cut them down to size and use them – See below for some of my ideas.
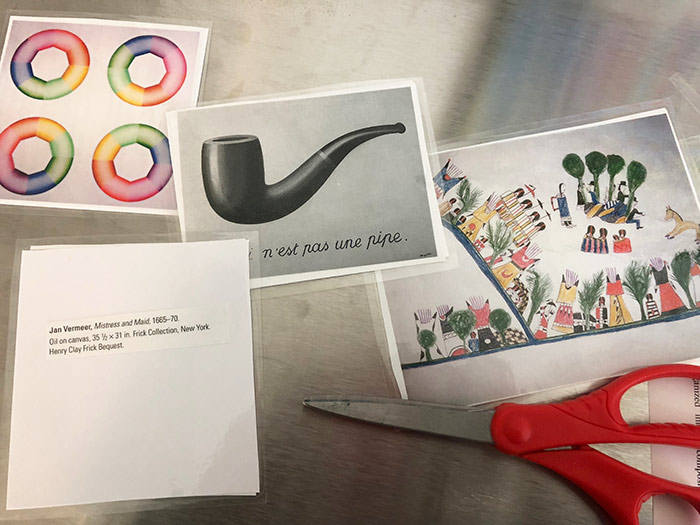
How to Use Art Cards
There are a ton of ways you can use the cards. Don’t limit yourself to my ideas. Get creative! If you come up with an art appreciation activity your students love, please share it in the comments for other art teachers to try.
- Flashcards – For students in college or AP Art History classes, art cards are a great study tool to learn how to dive into art periods and movements, recognize certain artists or techniques, and prepare for exams.
- Games – The possibilities are endless here. You can get in some kinesthetic learning by having students get into the pose of characters on the card or try to mimic the shapes they see.
- Poetry – Have students write a poem about the artwork. Haikus have always been successful writing assignments in my art classroom.
- Twitter Perspectives – Give the artwork new life by giving it a modern twist! Have students come up with usernames, tweets, and hashtags for the characters in an artwork. Learn more here.
- Compare & Contrast – Use two or more cards to compare different artists, styles, movements, or methods. Learn more here.
- Lead an Art Discussion – Talking about art in the classroom is a great way to connect students with art, work their critical thinking skills, and develop their love of art. Learn more here.
- Pair with a Worksheet – Use a worksheet from the Art Appreciation Worksheet Bundle (or the gift pack you receive when signing up for our weekly newsletter) to encourage students to dig deep and really critique and examine the artwork.
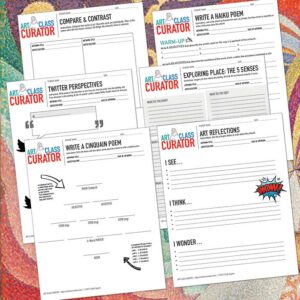
Free Worksheets!
Art Appreciation Worksheets
In this free bundle of art worksheets, you receive six ready-to-use art worksheets with looking activities designed to work with almost any work of art.
Masterpiece Presentation
I first posted this idea in a video on the Art Class Curator Facebook page. Soon after, art teacher Tosha Raynor emailed to tell me about her own success using art cards in the classroom. I loved her idea so much, I asked her if I could share it with all of you. It’s a great way to integrate works of art into every art class. Tosha’s classroom is setup so that there are four students at each table, but this activity can easily be adapted to however your classroom is setup. Here are the steps:
- Give each group one art card and a list of art questions. (Here are 82 questions you can use or pull from!)
- As a bellringer or journal work, have students write down questions they have about the artwork and answer them. Tosha allows students to use questions from the list or come up with their own, but they must critically analyze the artwork and answer around 10 questions. No simple yes or no answers here! The students need to put on their thinking caps!
- Once each student has a chance to answer their questions, the groups get together and pick which questions they want to talk about with the class.
- When a group is ready, show their artwork to the entire class. (A projector is great for this!) Each student from the group will read one of their questions along with their own answer/interpretation. Then, discussion is opened up to the class for additional insights and critiques.
- Repeat step 4 until all groups have presented their artwork.
- Start over with a new artwork for each group!
Tosha said, “It sparks SO much conversation between the 10 pieces. . . . They keep having questions or their own comments about each piece . . . . They are thoroughly intrigued.”
Teachers Helping Teachers
I’m so thankful to Tosha for sharing her classroom experience. Unfortunately, Tosha’s community was directly in the path of Hurricane Florence. My thoughts are with her, her students, and their friends and families. Since we’ve been in contact, I asked how people in the Art Class Curator community can help if they are able. Here is her response:
The Nourish NC site is the company that feeds our students when we aren’t in school. Along with other nutritional needs in the community. Support the port helps our community overall but focuses on our less privileged community to get them what they need. So many great people here in Wilmington and these are mostly local organizations striving to support our community.
Nourish NC
Support the Port Needs List
Vigilant Hope
Catholic Charities
Pender Humane Society


Thank you for doing what you do. I’m working hard to make art history interesting and relevant to my class of high schoolers and your ideas and lesson plans really help.
hey, your twitter link is linked to the haiku instead.
could you fix it as I am super interested in seeing what the twitter one could be about.
Thanks for letting me know! It’s fixed and read for you to take a look.